

Prolonging the Lifespan of Your WinkClique Lash Extensions
Do you have trouble keeping your DIY eyelashes on for 7+ days? If so, this post is for you! We know how frustrating it can be to have your lashes fall off prematurely, so let’s get your WinkClique lashes lasting and looking incredible for 7+ days! We are so excited to focus on 4 steps of the application process which will really make a difference in your lashes lasting: Cleansing, Adhesive application, Pressing, and Maintaining. The whole application process is important working as a whole and we don’t want you to miss any steps or information, so before you begin, watch our video of Jess showing us How to Apply WinkClique Lashes.
Like in most things we do, the foundation, or prep, is crucial in making the best results. Do you love having a fresh set of nails that lasts and doesn’t lift? The prep of the natural nails is key to providing a set of nails that lasts with no chipping or lifting. Or maybe you are a mom building a block tower with your little ones. A good solid foundation makes the best and tallest towers... just in time for your child to knock it down! This is no exception with your WinkClique lashes. Making sure you have clean eyes and lashes is important before starting the application process. Any oils, creams, or even makeup remaining on your lashes, can affect the longevity of your DIY lash extensions. We only want the best for our Clique so we’ve created an amazing Cleanser that was specifically made for our lashes and adhesive.
Cleansing:
To cleanse your lashes you will take your WinkClique Cleanser and our Micofiber Cloths. (I promise they are the softest things you have ever felt and make amazing gifts!) You will dampen one corner of your Microfiber Cloth with warm water. Next, place one pump of our Cleanser onto a different, dry corner of your Cloth. Now rub the corner with cleanser onto your eye and natural lashes to remove any debris or oil. Avoid getting cleanser into your eye. Once all debris and oil has been removed, use the previously dampened corner of the Microfiber Cloth to remove any remaining Cleanser. Repeat on the other eye. Your lashes should now be clean and ready for a fresh set of WinkClique lashes. You can also click this link for a video of “How to prep naturals” if you need a little more help.
Not only can you use our Cleanser to prep and clean your lashes prior to your application, but also to use throughout your lash wear to maintain and keep them healthy and clean, and that is the ultimate goal! I’ll chat more on that later, let’s keep going!
Lash Extension Adhesive Application:
After you have cleaned your natural lashes and you have taken your lash segments out of the tray, you are ready to start the Adhesive application. This step is vital to ensure your lashes last 7+ days. We have two amazing options, our Clear Adhesive and our Black Adhesive. Did you know our adhesives are both made from the same exact formula? The only difference is, you guessed it, the color. Some of our Clique members do find that Clear can be a little bit easier to work with because it’s easier to see that 3-D bubble. That being said, with proper application, both adhesives should last 7+ days. It really is a personal preference. Grab whichever adhesive you prefer and let’s start applying.
Hold the lash segment you are going to start with between your fingers or tweezers, whichever feels easiest, then with the lash extension band facing out, apply your adhesive to the top part of the band. With vertical motions, swipe the adhesive brush down the lash extension band so that you can build up your 3-D bubble. Do your best to avoid getting any adhesive in the lash hairs. Applying it while holding the adhesive wand vertically can help build up that nice 3-D bubble that we often mention. If you have had issues with your lashes coming off prematurely, 95% of the time it is due to not using enough adhesive. Below are two pictures showing how much adhesive should be applied to each lash segment.


From the side view of your lash extension, you should see that beautiful 3-D bubble like in the photos above. If it does not look similar, simply apply more adhesive.
We can’t stress enough how important the right amount of adhesive is. It will make the biggest difference in the longevity of your lashes. We have added a video from our Instagram page that will show you how- to apply the adhesive as well as how much to apply.
Once you’ve applied a 3-D bubble of adhesive to your lash segment, make sure that you’re giving the adhesive enough time to get tacky, which takes about 4 minutes. Setting a timer is a huge help! This allows the lash segments to stick easily to the underside of your natural lashes without sliding around. If you notice your lash segments sliding around and not “sticking”, that’s a good sign that the adhesive needs a little more time. Once your adhesive is tacky, you are ready to apply your lashes to your naturals one segment at a time. Go at your own pace. If you need to apply adhesive, wait a few minutes for it to become tacky, apply the lash segment and then repeat with the next segment, that is totally fine. Make sure you apply your lash segments to the base of your natural lashes and not on your waterline. If you feel any discomfort it is likely due to the lash band being too close to your waterline, so just move it up until it no longer causes discomfort. Slightly overlap the lash extension segments to create a nice seamless band. Repeat the same process on the other eye.
Pressing:
Our 3rd step to prolonging your DIY lash extensions, is to press your WinkClique lashes about 20-30 minutes after your application. Our Presser beautifully curves to your eye shape to seal them to your naturals. Run your Presser under the faucet to get it wet, then gently press your DIY lashes to seal them to help secure that 7 day hold that we all love! Avoid getting your lashes too wet within the first few hours of application. This will also help improve the longevity of your lashes.
Maintaining:
You are now on your way to 7+ days of beautiful and flawless looking lashes, that YOU did YOURSELF! How amazing is that? Maintaining your at home lash extensions is just as important as the other steps. One of the many things we all love about WinkClique lashes is that they are waterproof!! You can shower, swim, dance in the rain, or even go to a hot yoga class. After your lashes have had time to dry, we recommend giving them a nice re-press with your lash Presser to keep them going strong. As I mentioned earlier, our Cleanser isn’t just for the prep of your naturals, we also recommend using our Cleanser to keep your WinkClique lashes clean throughout your wear and to remove any make up. To clean your lashes you will need: your WinkCique Cleanser, Microfiber Cloth, a clean make up brush, and our Spoolie brush. Apply a small amount of Cleanser to your Microfiber Cloth and apply it around the eyes to remove any make up. Next apply a small amount of Cleanser to your clean makeup brush and rub on the top side of the lash line to remove excess makeup and buildup. Finally, gently brush through your lash segments with a dry and clean Spoolie brush to refresh your lashes. Here’s another video showing “How to clean your lashes”.
All of us at WinkClique know these steps will really help to make a difference in the longevity of your next lash application and we can’t wait for you to try them yourself!
Don’t forget,
You are amazing!
Read more
Are you the type that loves to do ALL the research on any new beauty trend, or DIY product on the market? You’re not alone! We love that you want to do your homework before adding any DIY lash prod...
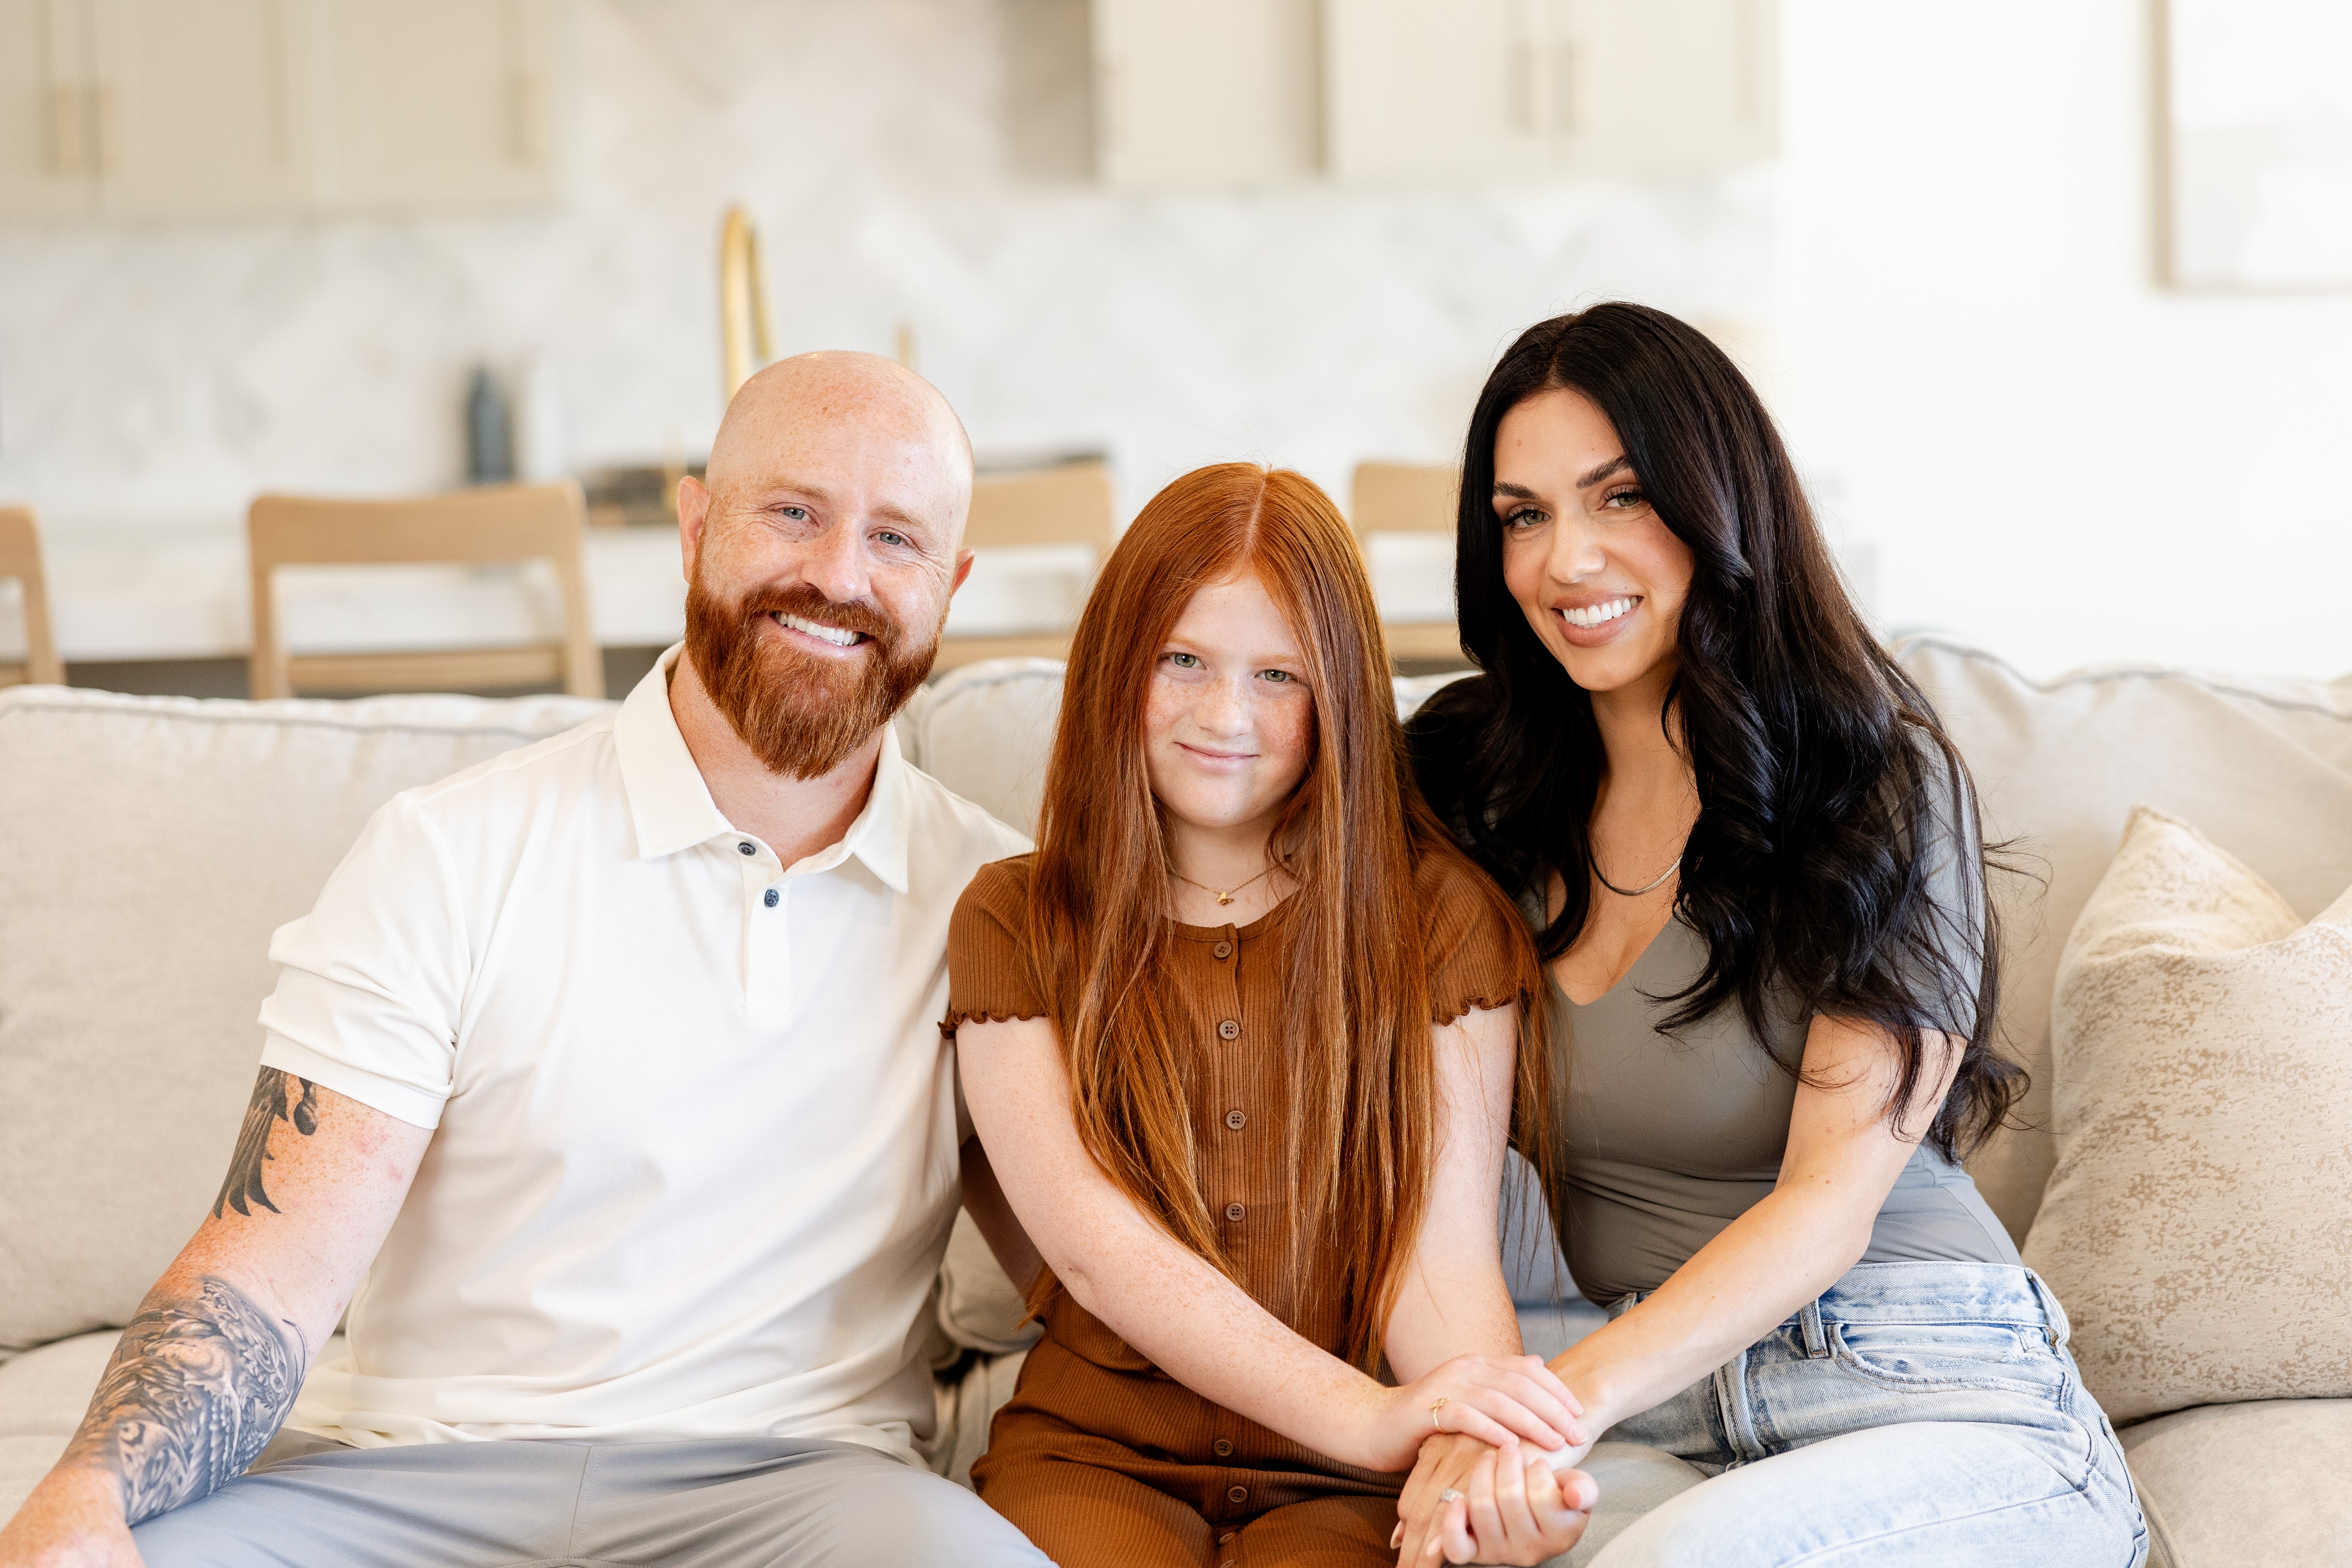
WinkClique is a Southern Utah based DIY eyelash extension company founded by Jessica and Donovan Winters in 2020. Jessica was pregnant with her daughter Leighton in 2013. The pregnancy went perfect...