


Mastering the Art of a Flawless Lash Application
Proper application is key to a beautiful, long lasting result with your at home eyelash extensions. WinkClique is here to help you feel confident every step of the way! After following the steps below, we know you will walk away feeling comfortable in your ability to achieve a flawless application.
Prepping your natural lashes
Make sure to properly cleanser your natural lashes of any oil or debris. We recommend using our amazing Cleanser to prep your lashes before application. *Keep that cleanser handy while you wear your WinkClique lashes for daily cleansing of any makeup or debris for fresh looking lashes the whole 7+ days! If you are looking for video to watch on how to prep your natural lashes, we have one linked here for you to watch!
Removing your WinkClique lashes from the tray
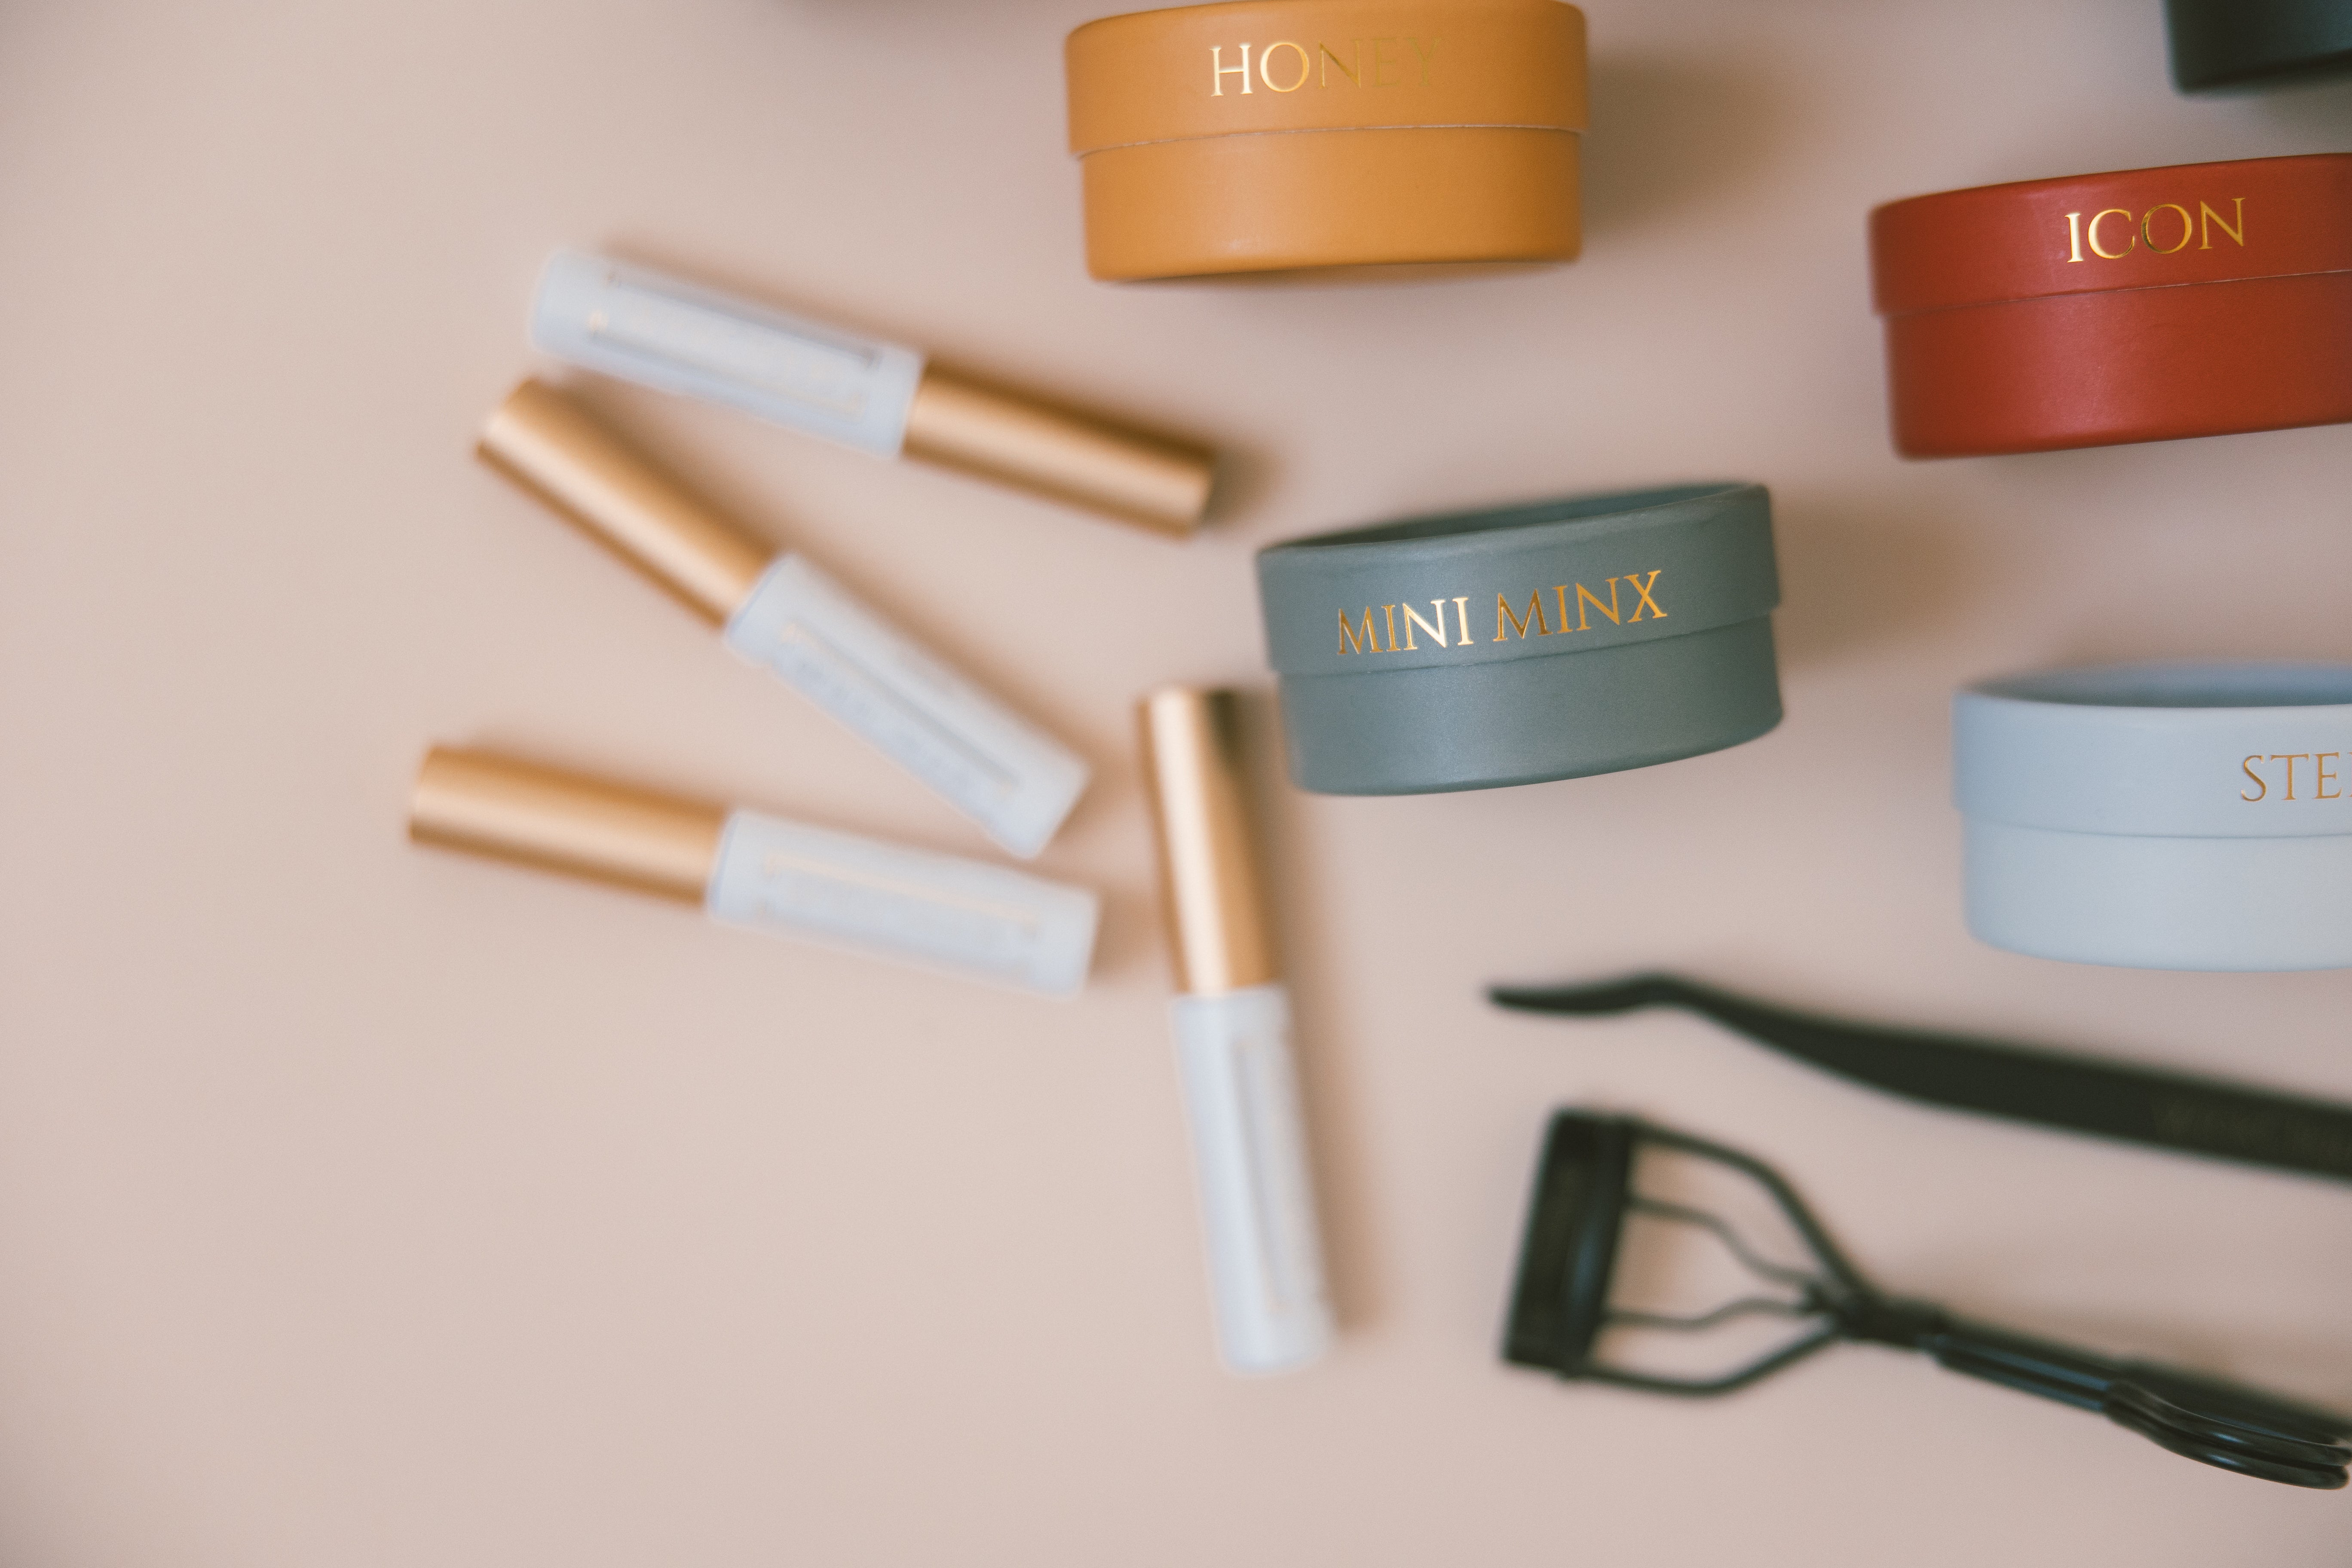
After your natural lashes are ready to go, take the tray out of your lash book and flip it around. The lashes should now be pointing away from you. This will help you see which set goes to which eye. Removing one segment at a time, grab as much of the lash segment between your fingers and gently pull them away from the tray. After taking each segment out, lay them on a flat surface in front of you keeping them in order. If you are looking for a place to set your segments during application, we have your covered! With the amazing Lash Pad there is no more worry about run away lashes with the slightest gust of air! It is made to keep those lash segments right where you need them so they don’t blow away during application.
Trimming your lash segments
Take a look at your inner and outer segments to see if there is any excess band. Take your lash scissors found in our Tool Set to cut away the excess band. Not removing any excess band before application can cause irritation during the wear of your WinkClique lashes. Because your at home lash extensions come in segments, they are completely customizable! For our beautiful smaller eyed girlies, we recommend either removing a segment completely from each eye during this step, or trimming a segment down with your lash scissors to fit your unique eye shape.
Applying your Adhesive
Going inner corner to outer corner or vice versa, is personal preference! If you are beginning your journey with us here at WinkClique, we recommend starting inner to outer corner. Make sure to give your Adhesive bottle a good shake before you use it! Picking up your inner segment of the eye you wish to start with, apply your Adhesive to the top side of the band with your wand applicator. Continue this step until you have built the crucial 3D bubble of Adhesive on that segment. Apply your Adhesive until all of your segments for one eye is done. Unsure how much Adhesive to use? We have you covered in this great video showing you how much Adhesive to use linked here.
Allowing your Adhesive to become tacky
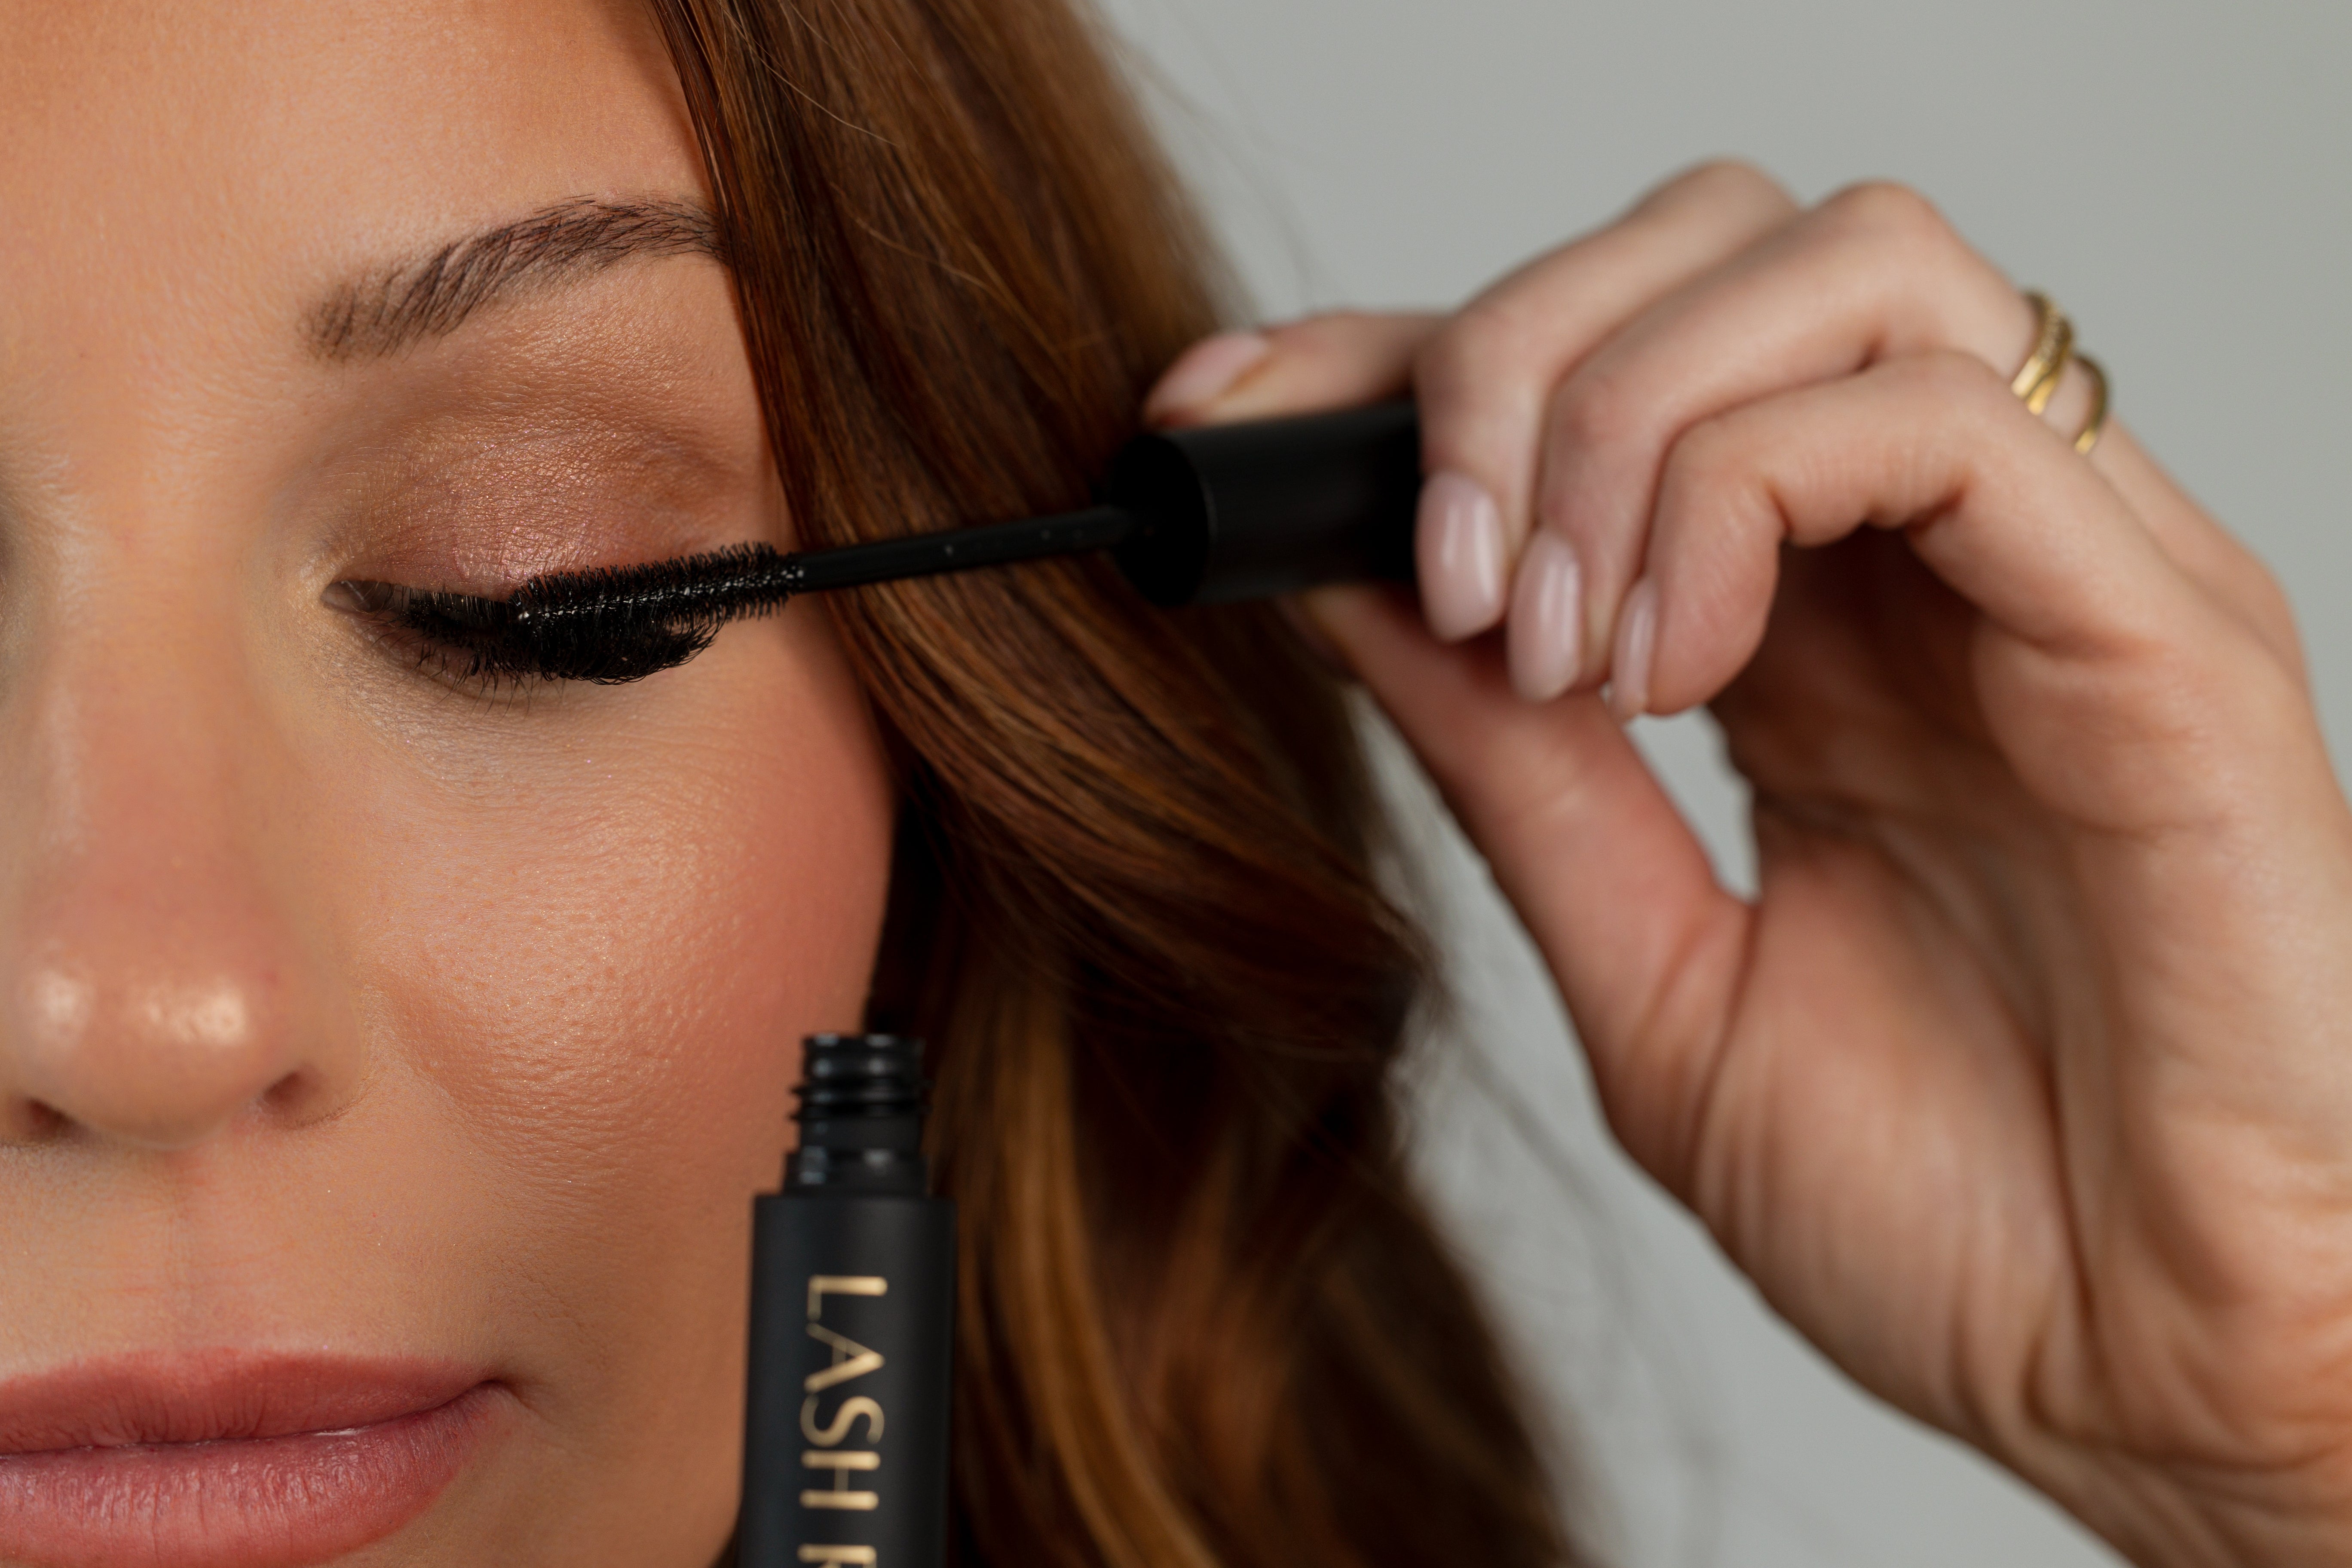
After the Adhesive has been placed to each segment, wait about 3-4 minutes until your Adhesive becomes tacky. Setting a timer really helps! By making sure your Adhesive becomes tacky, it will allow the lash segments to grip on to your natural lashes and not slip around. If you notice your lashes are slipping and sliding when you try to apply them, take the segment off, set another 1 minute timer and try again. While you are waiting for your Adhesive to become tacky, make sure to curl your natural lashes using your WinkClique Lash Curler.
Applying your lash segments
Beginning with the inner corner, or the segment you placed Adhesive to first, grab the center of the segment using your Lash Presser tool making sure to avoid the Adhesive. Apply the segment to the underside of your natural lashes while avoiding placing it on your waterline and continue this step with each segment. We recommend overlapping your segments to help give the seamless band look. You can find a video with a closer look into how to do that here. Repeat all steps above to the other eye.
Press to seal your lashes
After waiting about 20-30 minutes after application, use your Lash Presser to gently press and seal your lashes. To do this, you will work from the outer corner in, gently pressing as close to the Adhesive line as you can. This will help create a seamless look at the base of your WinkClique lashes. Are you in a little hurry and need to press your lashes a little sooner than 20-30 minutes? Don’t worry ladies, we have the incredible silicone Presser Pads you can add to your Lash Presser tool! By using your Presser Pads it will ensure your Adhesive will not stick and pull off your segments when gently pressing to seal your lashes.
Whether you're getting ready for a special occasion or just want to elevate your everyday look, following these tips will ensure that your lashes are always on point. Say goodbye to smudged mascara and hello to effortlessly glamorous lashes that last.
So go ahead, embrace your inner lash artist, and get ready to slay with stunning, flawless lashes every time!
Read more
In the dynamic world of online shopping, loyalty programs have become an important part of the customer experience! WinkClique, your go-to beauty destination, takes it up a notch with a loyalty pro...
Proper removal of your WinkClique lashes is vital to protect the health of your natural lashes. Because our Remover was formulated to breakdown our Adhesive, make sure to have that on hand! Come al...