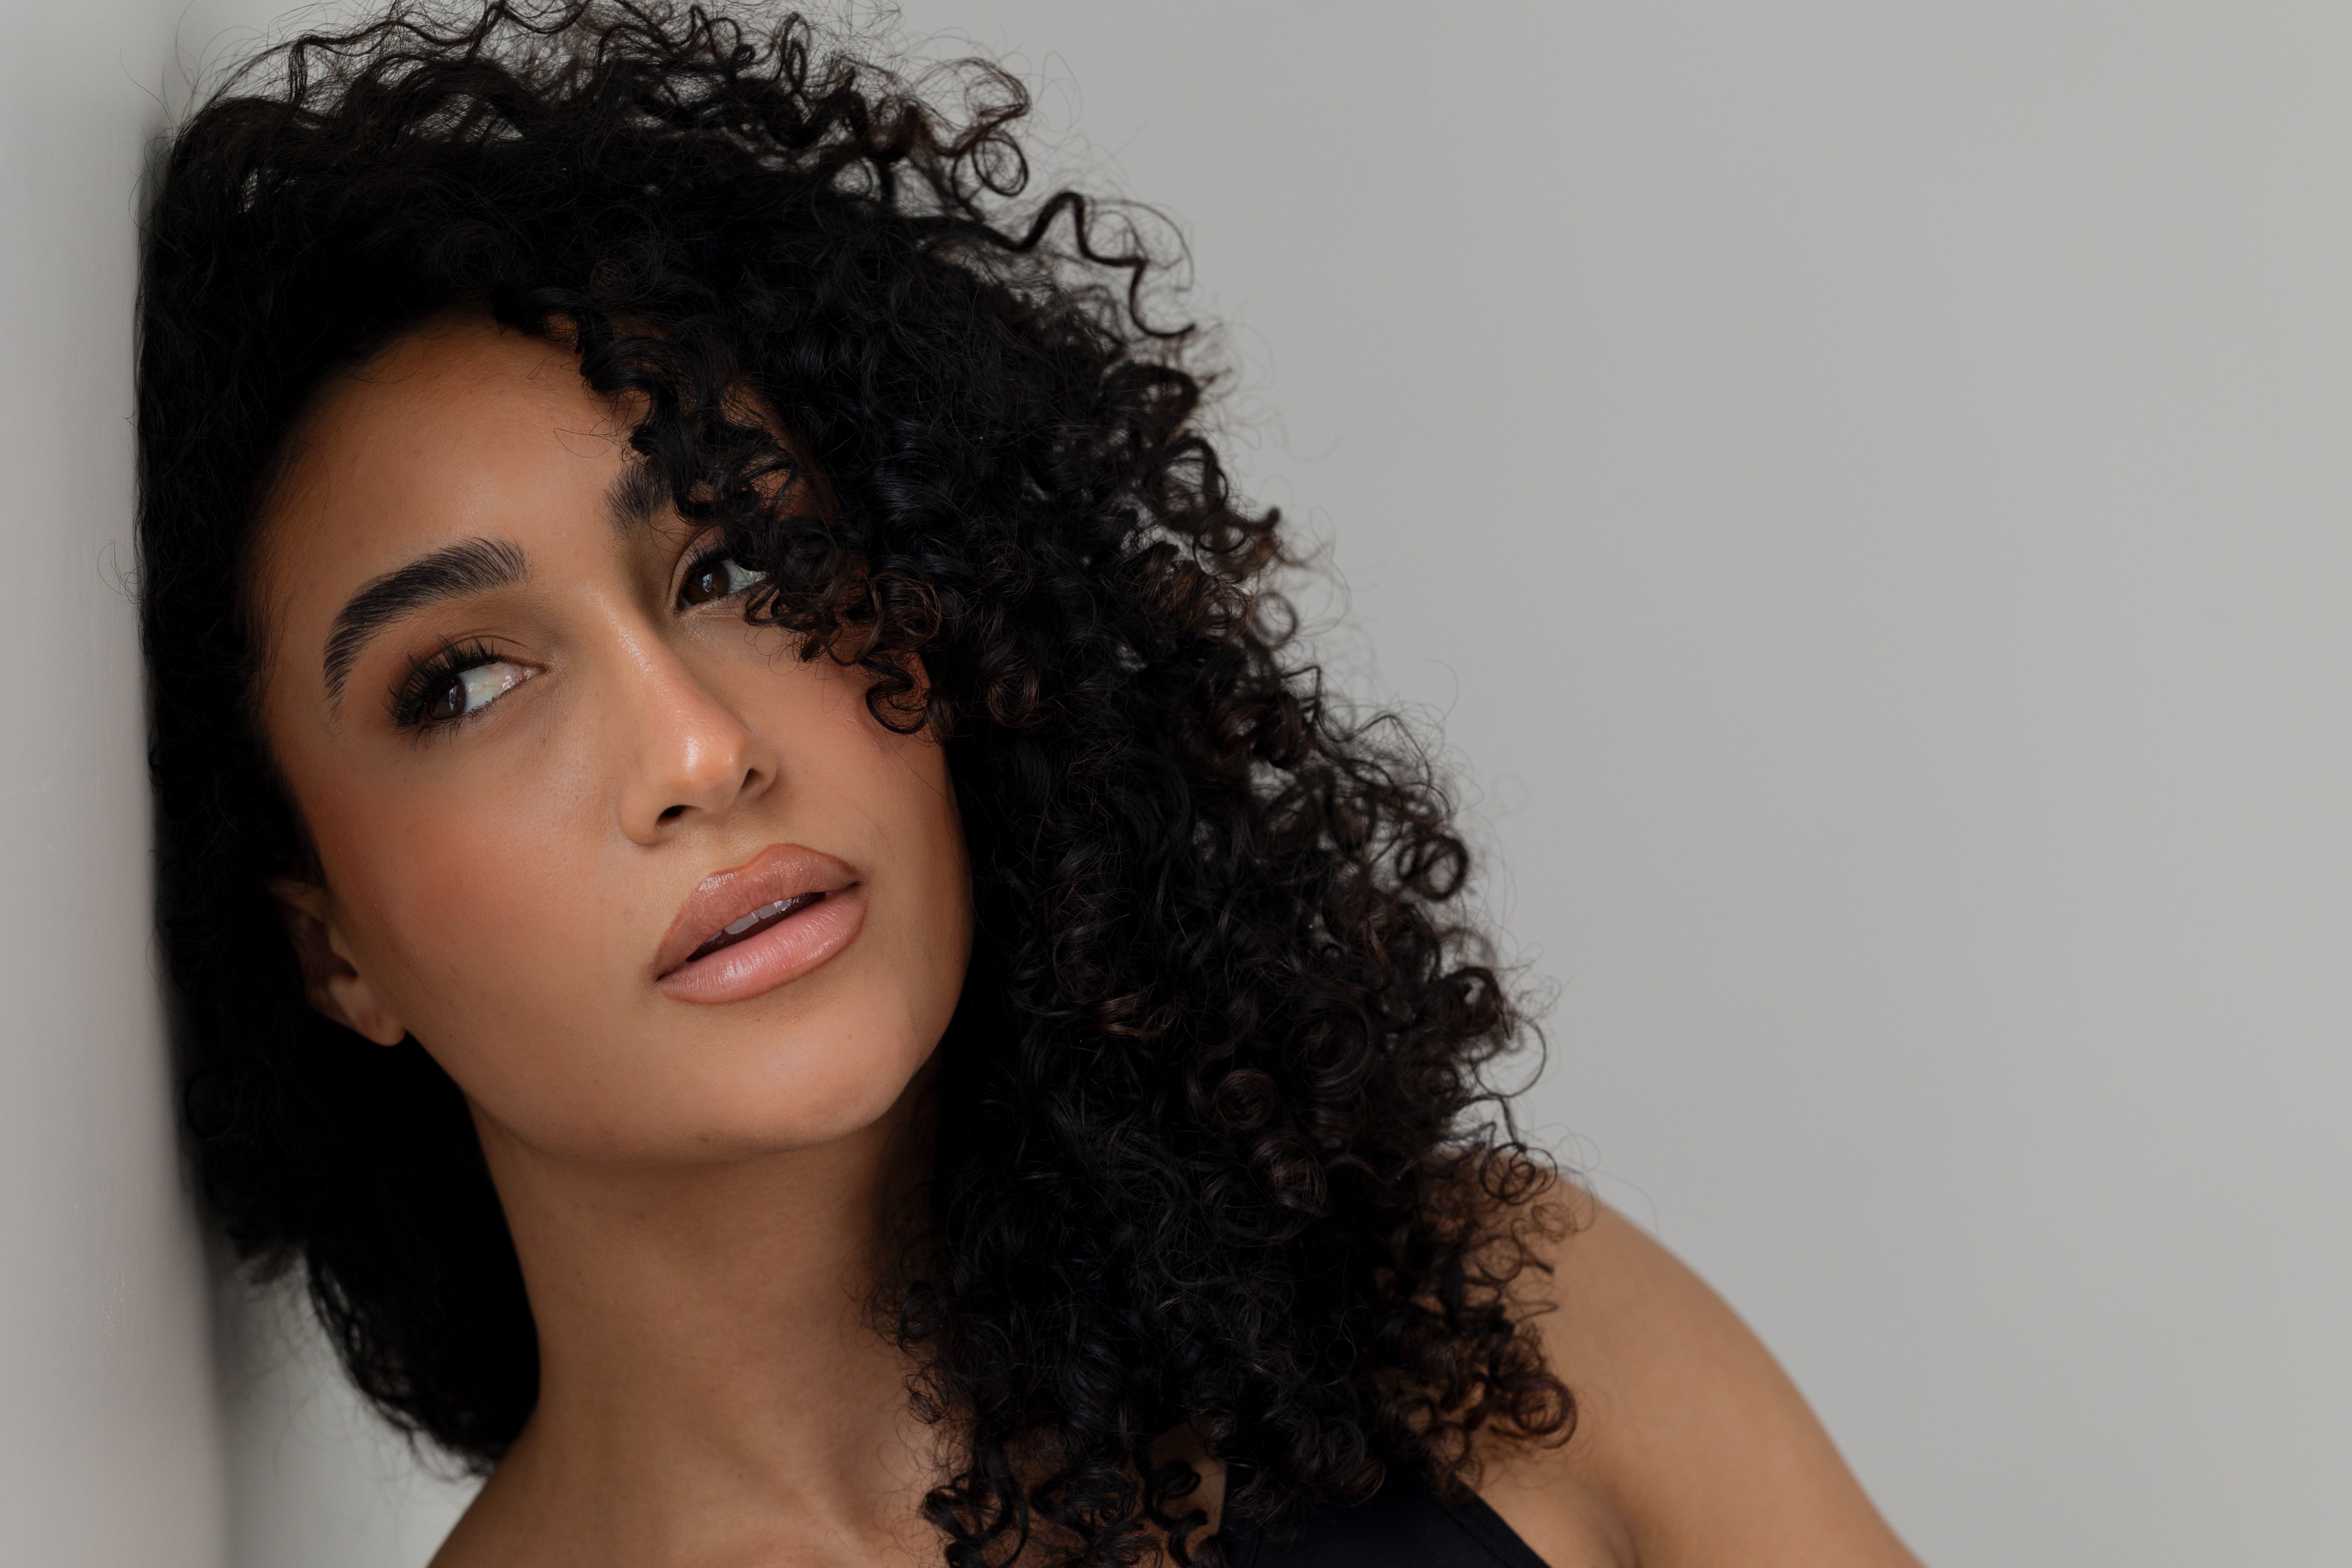
Ever put on your DIY lash extensions, only for them to not last? Transform your at-home lash game from frustrating to fabulous! Whether you're a beginner or a seasoned pro, avoiding these top mistakes will elevate your lash application to new heights! Come with us as we point out some of the most common reasons why your WinkClique lashes are not staying put and how to avoid them.
Prepping your lashes properly
Without a good foundation, your at-home lash extensions won’t stand a chance against your everyday lifestyle. Making sure to cleanse your natural lashes of all oil and debris is step number 1 in achieving salon quality results. Our Cleanser was formulated to clean your lashes as prep for a new set, and while you wear your WinkClique lashes to keep those beauties looking fresh everyday!
Enough Adhesive
If you’ve been with us a while, you have heard about our 3D bubble of liquid gold. Without the proper amount of Adhesive, your lashes will only last you a few days at best. Make sure to take the time to build your adhesive on your at-home lash band, you need more than you think! Once the proper amount is placed, set a timer for 3-4 minutes to allow it to become tacky in texture. Allowing it to become tacky will make it easy for them to grip right onto your natural lashes and not cause a slippery mess of adhesive. If you find the adhesive is still a little slick while trying to apply, stop, set another 1 minute timer and give it another shot!
Lash Placement
Your WinkClique lashes should be placed at the base of your natural lashes, away from the waterline. If you find your lashes are not staying on after only a few hours or while you sleep, it is possible they were placed to close to your waterline. When this happens, your eyes create more moisture causing your adhesive to breakdown prematurely. Placing your DIY eyelash extensions a little further up on your natural lashes will fix this issue!
Overlapping
When you apply your at-home lash extensions and notice they don’t seem to look as seamless as you were hoping, or you notice the segments seem to separate as you wear them, on your next application overlap your segments just slightly! We recommend overlapping your segments by 1 little lash cluster. This will give you the flawless salon quality results you are looking for.
Pressing to Seal
After you’ve overlapped your lashes, have you ever seen those “steps” your segments can make? By using your Lash Presser to press and seal your WinkClique lashes, it will help eliminate those steps and lift your at-home lashes to give you a beautiful open eye look. If you have a Lash Presser and it seems to stick to your lashes when you press to seal, make sure to grab some of our silicone Presser Pads! By adding these to the end of your presser you are sure to press your lashes with ease. Be sure to use your Lash Presser to seal your lashes once they have air dried after your shower, a little dip in the pool, or a long sweaty workout session!
Nourishing your natural lashes
Keeping your natural lashes healthy and strong is just as important as any step in your at-home lash extension process. Without a healthy base, your natural lashes will not be able to help hold your beautiful WinkClique lashes. We have formulated a lash serum to use with our without your DIY lashes on. Get your hands on some of our Growth Serum to fortify and strengthen your natural lashes to help give your at-home lashes a great base to hold onto.By avoiding these common mistakes, you can achieve salon-quality lashes from the comfort of your home. Remember, practice makes perfect, and with these tips, you'll be applying your lashes like a pro in no time!
Keep shining ladies!
Read more

With summer comes vacations! Ever been so busy getting ready for your trip you weren’t able to put your lashes on before you go or realize on your way out that its time for a new set? I definitely ...
If you are looking to elevate your beauty game while embracing a carefree attitude, look no further than our latest style of at-home lash extensions: Demi. This new cat eye style is ju...


